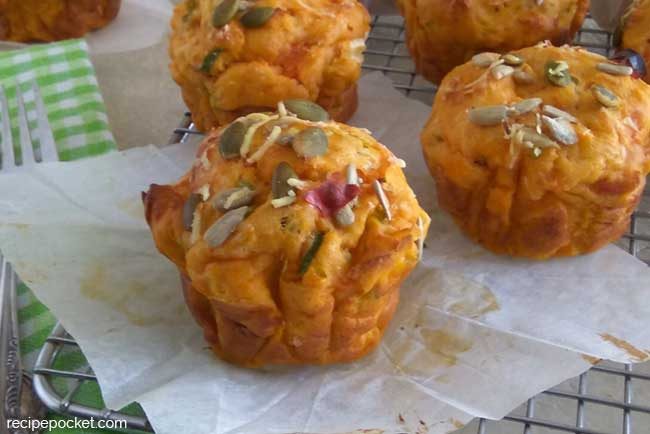
Making your own parchment paper muffin liners is very easy. These liners can also be used as cupcake liners.
There have been many times that I have wanted to purchase parchment paper muffin liners only to find out they are out of stock. Not only that, I have learned that cupcake cases vary in size and rarely fit my tins. They are either too big or small or never the right height.

To solve this, I have learned how to make muffin liners. They are quick and easy to make, and I will show you two simple methods. Try both methods and then decide which one you like. The one I make most often is the first one.
The Frist DIY Muffin Liner Style has a rounded edge, this has a few more steps involved but it does look pretty. This style sits better in the tin giving the muffin a nice clean outer edge.
The Second DIY Muffin Liner Style looks similar o the tulip muffin liners that bakeries use.
Type of Paper To Use
Baking Paper
I like to use baking paper (something like Glad Bake) to make both of these, it is thick and holds it’s shape well. Baking paper is also non-stick and will slip away from the muffins.
Grease Proof Paper (Parchment Paper)
This is thinner than baking paper and cheaper too. It’s the type that can be used for baking and wrapping sandwiches in. It’s thin and tends to stick to the muffins but, will peel away easily. Use this paper for method #1 if you want to keep the wrappers on the muffins.
Note: Both of the above papers that I buy come in rolls that are about 30 cm (11.8 inches) wide.
If you would like to learn more about different baking papers read this article by webstaurantstore.com
How to Make Muffin Liners
Easy Cut Round Edge Tulip Muffin Liners
Parchment Paper Muffin Liners #1
Once you get the hang of making these, they are quick to make. You can even make them in advance. Store them flat in a box and have them ready for the next batch of muffins or cupcakes you make.
Step 1

Start by cutting a large square from the baking paper to do this;
- Make sure that the start of the roll has a nice straight edge.
- Pull one corner of the straight edge down to the opposite side to create a large triangle.
- Use the vertical edge as a guide and cut it away from the roll.
- Unfold the cut piece you should have a square that is about 30 cm (11.8 inches) in size.
Step 2
- Fold the square in half to make a large rectangle.
- Then fold the rectangle in half to form a square.
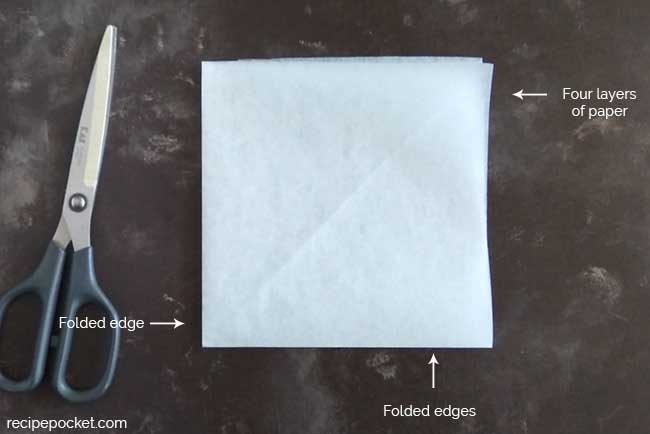
- The square should be about 15 cm in size, with four layers of paper.

- Next, fold the square in half again and then one more time. To get a square that is about 7½ cm in size, with eight layers of paper.
Step 3
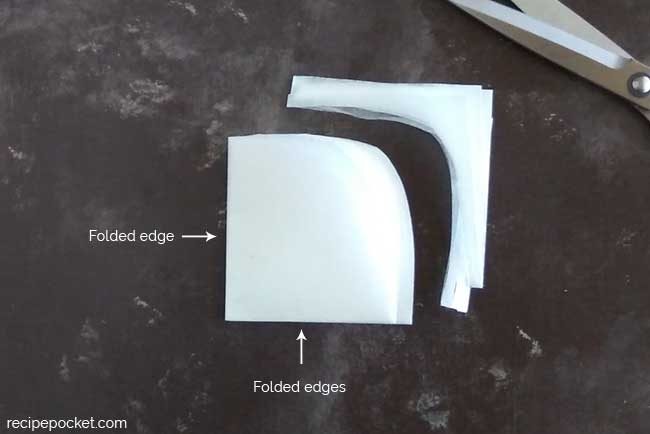
- Use shape scissors to trim a curved edge on the square as shown in the picture above.
- Make sure that you don’t cut away center fold (shown on the left in the picture above) or bottom fold edge.
Step 4

- Flip open the paper square on the centerfold only.
- Holding the papers in one hand. Insert the scissors into one section of the square at the bottom fold line. Cut a straight line on the fold through all four layers of paper. Stop the cut about 1 – 1½ cm from the centerfold line. Then repeat the above step on the other side.
- Next, cut through all eight layers of paper on the centerfold line, again stopping about 1 - 1½ cm from the center point.
Step 5

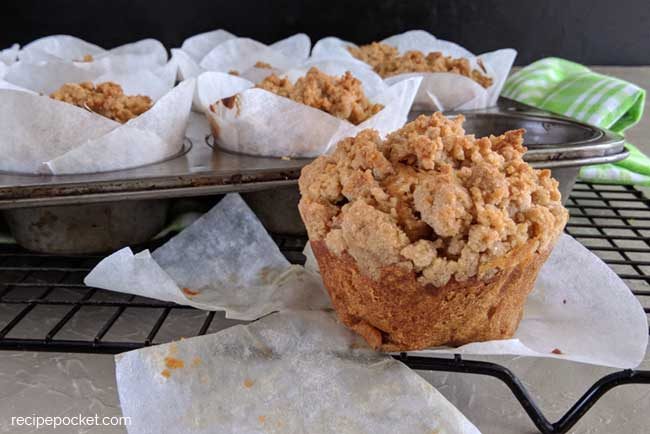
- Unfold the paper, and you will have four parchment paper muffin liners and they should look like the ones pictured above.
- Repeat steps 1 – 5 to make as many muffin liners as you need.
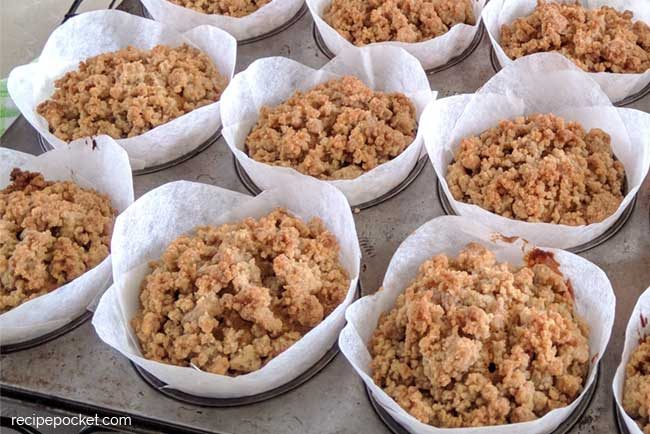
Lining The Muffin Tin

Place one muffin liner into a hole, and use your fingers tips to firmly press the bottom of the liner into the base of the in. Repeat for the remaining muffin liners.
Easy Pleated Tulip Muffin Liners
Parchment Paper Muffin Liners #2

These take just seconds to make. Like the other muffin liners, they can be made in advance. However, these do take up more storage space.
Step 1
Start by cutting a large square from the baking paper to do this;
- Fold the square in half to make a large rectangle.
- Then fold the rectangle in half to form a square.
- The square should be about 15 cm in size, with four layers of paper.
Step 2

- Open up the large square and cut along the fold lines to make four 15 cm squares.
Step 3

- Select a cup (or something similar) that has a size similar to the base of the muffin tin hole. You will use this to shape the muffin liners.
Step 4

- To shape the muffin liner, turn the cup upside down and center a square of paper on top.
- Starting from the top and moving down the cup, circle both hands around the top pushing and pressing the paper onto the side of the cup. Rub the creases several times before removing from the cup, this will make sure that the creases will sit nice and flat.
How to Line the Muffin Tin

To use place one muffin liner into each hole. If necessary, press the liner into place with your fingers, or push into place with the cup used to shape the liners.


JRae says
Hadn’t thought of making my own liners…makes sense. It dresses each muffin up for gifting. Thank you!
Sharon Edwards says
I just spray my pan with pam. Works like a charm. You still have to wash your pan if you use muffin liners.