Give this simple homemade pita bread recipe a try! It's easy and fast to make, and when it comes out of the oven, it is delicious.
The bread is light and soft, and just right for your favorite sandwich fillings.
You can make them in any size you like, whether for fresh pocket sandwiches or tasty hot sandwiches using a sandwich press.
Plus, there are instructions for making them on the stovetop with a cast iron skillet.
Enjoy the convenience of homemade pita bread with this quick and tasty recipe!
New to bread making? Explore our homemade bread recipes guide for more tips and beginner-friendly recipes.
Jump to:
Homemade pita bread is a delightful treat that brings the goodness of freshness and softness to your table.
Made without preservatives, it is a great alternative to many store bought pita breads.
Making it at home is easy, and you can choose between using the oven or the stovetop, particularly with a trusty cast iron skillet.
The simple ingredients and easy steps ensure a delicious outcome and the result is a soft and light texture that transforms your ordinary meals into extraordinary ones.
Since it is preservative-free, you savor the taste of real, wholesome ingredients.
This homemade pita bread allows you to customize the size, creating perfect pockets for your favorite fillings.
Whether you prefer fresh pocket sandwiches or enjoy a hot, toasty creation from a sandwich press, the options are versatile and mouthwatering.
Why You'll Love This Recipe
- This bread is super soft and fluffy and every bite is an extra special treat.
- Watch the magic happen in your oven, or on the stovetop as the pita dough puffs up, turning it into something yummy and fun to eat.
- Forget the not-so-tasty store-bought ones. This homemade pita bread has a delicious taste that you can not resist.
- This recipe not only tastes great but is also friendly to your wallet.
- Whether you are making a tasty sandwich or using it as a versatile side dish, this homemade pita bread is like a blank canvas for your kitchen adventures. Make your meals even better with it!
What Is Pita Bread?
Pita bread is a round, flat type of bread with a pocket in the middle. It is common in Mediterranean and Middle Eastern cuisines.
The dough is made with yeast, which makes the bread puff up and create a space inside.
People often use pita bread to wrap things like grilled meats, veggies, or falafel.
It can also be cut into pieces and used for dipping with things like hummus.
The word "pita" comes from a Greek word meaning "flat" or "broad." It is liked for its soft texture and how it can hold different fillings.
Tips For Using The Bread Machine
Here are some key tips for beginners when making bread in a bread machine:
- Read the Manual - Make sure to read the user manual that comes with your bread machine. Different models may have specific instructions and features.
- Follow the Recipe - Stick to recipes designed for bread machines, at least until you get the hang of it. Bread machine recipes are formulated with the machine's process in mind.
- Ingredient Order - Follow the recommended order for adding ingredients to the bread pan. Usually, liquids go in first, followed by dry ingredients, and yeast goes on top.
- Measure Ingredients Accurately - Use precise measurements for ingredients, especially for flour. Too much or too little can affect the outcome.
- Use Fresh Ingredients - Make sure your yeast and other ingredients are fresh. Old yeast may not rise properly and can affect the bread's texture. If you are not sure about the freshness of the yeast read our article on how to use instant yeast.
- Room Temperature Ingredients - Allow refrigerated ingredients like eggs and milk to come to room temperature before using. Cold ingredients can slow down the yeast's activity.
- Monitor the Dough - During the initial mixing phase, check the dough's consistency. If it's too dry or too wet, you can adjust by adding a bit more flour or water.
- Be Mindful of Temperature - Room temperature and humidity can impact the dough. If the environment is too hot or too cold, it might affect the rising process.
- Experiment Gradually - Once you are comfortable with basic recipes, you can start experimenting with different flours, and ingredients, and even making your recipes.
- Care for the Machine - Keep the bread machine clean, especially the kneading paddle and the pan. Follow the manufacturer's guidelines for maintenance.
- Don't Overload - Stick to the recommended capacity of your bread machine. Overloading can lead to uneven baking.
- Be Patient - Baking bread takes time. Be patient and allow the machine to complete its cycles without interruption.
- Cooling Properly - Allow the bread to cool in the pan for a few minutes before transferring it to a wire rack. This helps avoid it collapsing.
- Storage Tips - Store the bread in a breathable bag or container once cooled. Avoid sealing it in plastic right away to prevent sogginess.
- Troubleshooting - If something goes wrong, do not be discouraged. Use it as a learning experience and adjust for the next time.
Remember, practice makes perfect. With a bit of experimentation and experience, you will become more confident in using your bread machine.
Ingredients
- Water - You need water to mix with the other ingredients and make the dough for the pita bread.
- Salt and Sugar - These add flavor to the bread. Salt gives it a little savory taste, and sugar adds a touch of sweetness.
- Butter adds richness and a slight buttery flavor to the pita bread. You can use salted or unsalted butter.
- Bread Flour - This is a type of flour that is good for making bread. It helps give the pita a soft and chewy texture.
- Whole wheat flour is made from whole grains, which adds a nutty flavor and some extra nutrients to the pita. If you do not like or do not have whole meal flour just replace it with the same amount of bread flour.
- Milk Powder is used to enhance the flavor and texture of the pita. It adds a bit of creaminess.
- Dry instant yeast makes the bread rise. Dry instant yeast is a type of yeast that works quickly to puff up the pita dough. If you do not know how to use instant yeast, read our article on How To Use Instant Yeast.
Step By Step Instructions
Bread Machine Setup
- Take out the bread pan from the machine. Add water, salt, sugar, butter, flour, milk powder, and yeast.
- Set the bread machine to the "Dough" or "Manual" setting. Press start.
- Keep an eye on the dough during the initial kneading phase. If it appears too sticky, add one tablespoon of flour at a time until it forms a smooth, elastic ball. Conversely, if it is too dry, add water in small increments.
- After the kneading cycle completes, allow the dough to rise in the machine. This step is crucial for developing flavor and texture.
Shape into even-sized balls
- Once the dough has risen, remove it from the bread machine and the bread pan onto a floured surface.
- Before shaping the dough into round shapes, use your kitchen scale to measure equal amounts of dough. This ensures that all your homemade pita breads will be about the same size and weight.
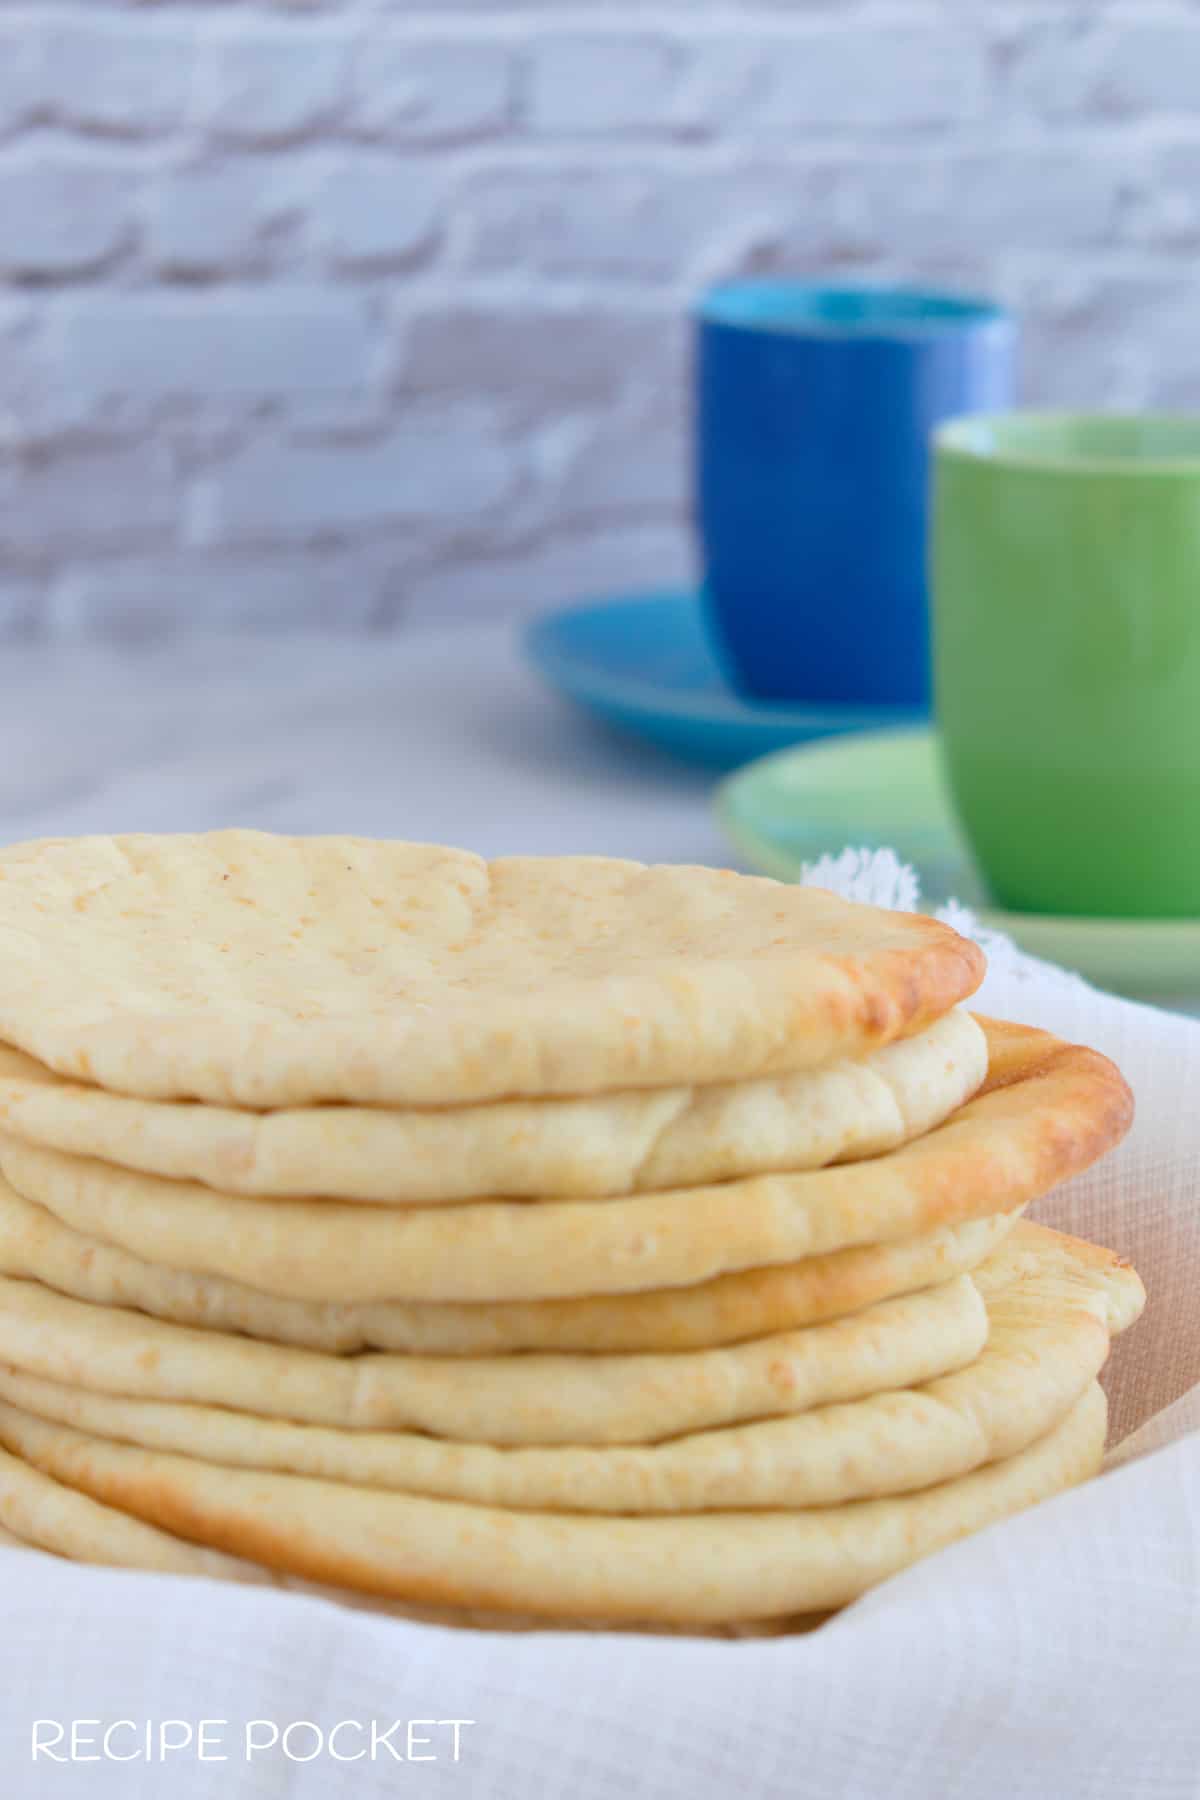
- Using this recipe, you will make 16 homemade pitas, each about 5.5 inches (14 cm) in diameter. This is a good size and the baked pita easily fits into a pop-up toaster for quick reheating. Plus, it is generally a good size for cooking in a skillet.

Roll and flatten into discs
- Flatten the dough into discs using a rolling pin, aiming for a thickness of about 2-4mm (⅛” – ¼”). It is important not to go too thick or too thin because it affects the pocket formation during cooking. If it is too thin, the pocket will not form well, and if it is too thick, it is too "heavy" for steam to open the pocket.
- Make sure to flatten the dough evenly. Avoid patches that are too thick or thin. The uneven dough might not form the pocket properly.
Cooking Instructions
These pita breads can either be oven-baked or cooked in a skillet.
Oven baking

- To make your pita bread puff up nicely, make sure your oven is really hot, around 200-230°C (440°F).
- Put two to three pita pockets on and upturned cake rack. Use a spray bottle to give your pitas a good mist, about 5-6 squirts, before closing the oven door.
- If the oven is right, they will start puffing up in about 2 minutes. They will not all puff up at the same time.
- After 4-6 minutes, take them out. Do not be tempted to cook longer if they have not all puffed, because overcooking makes them dry, not soft.
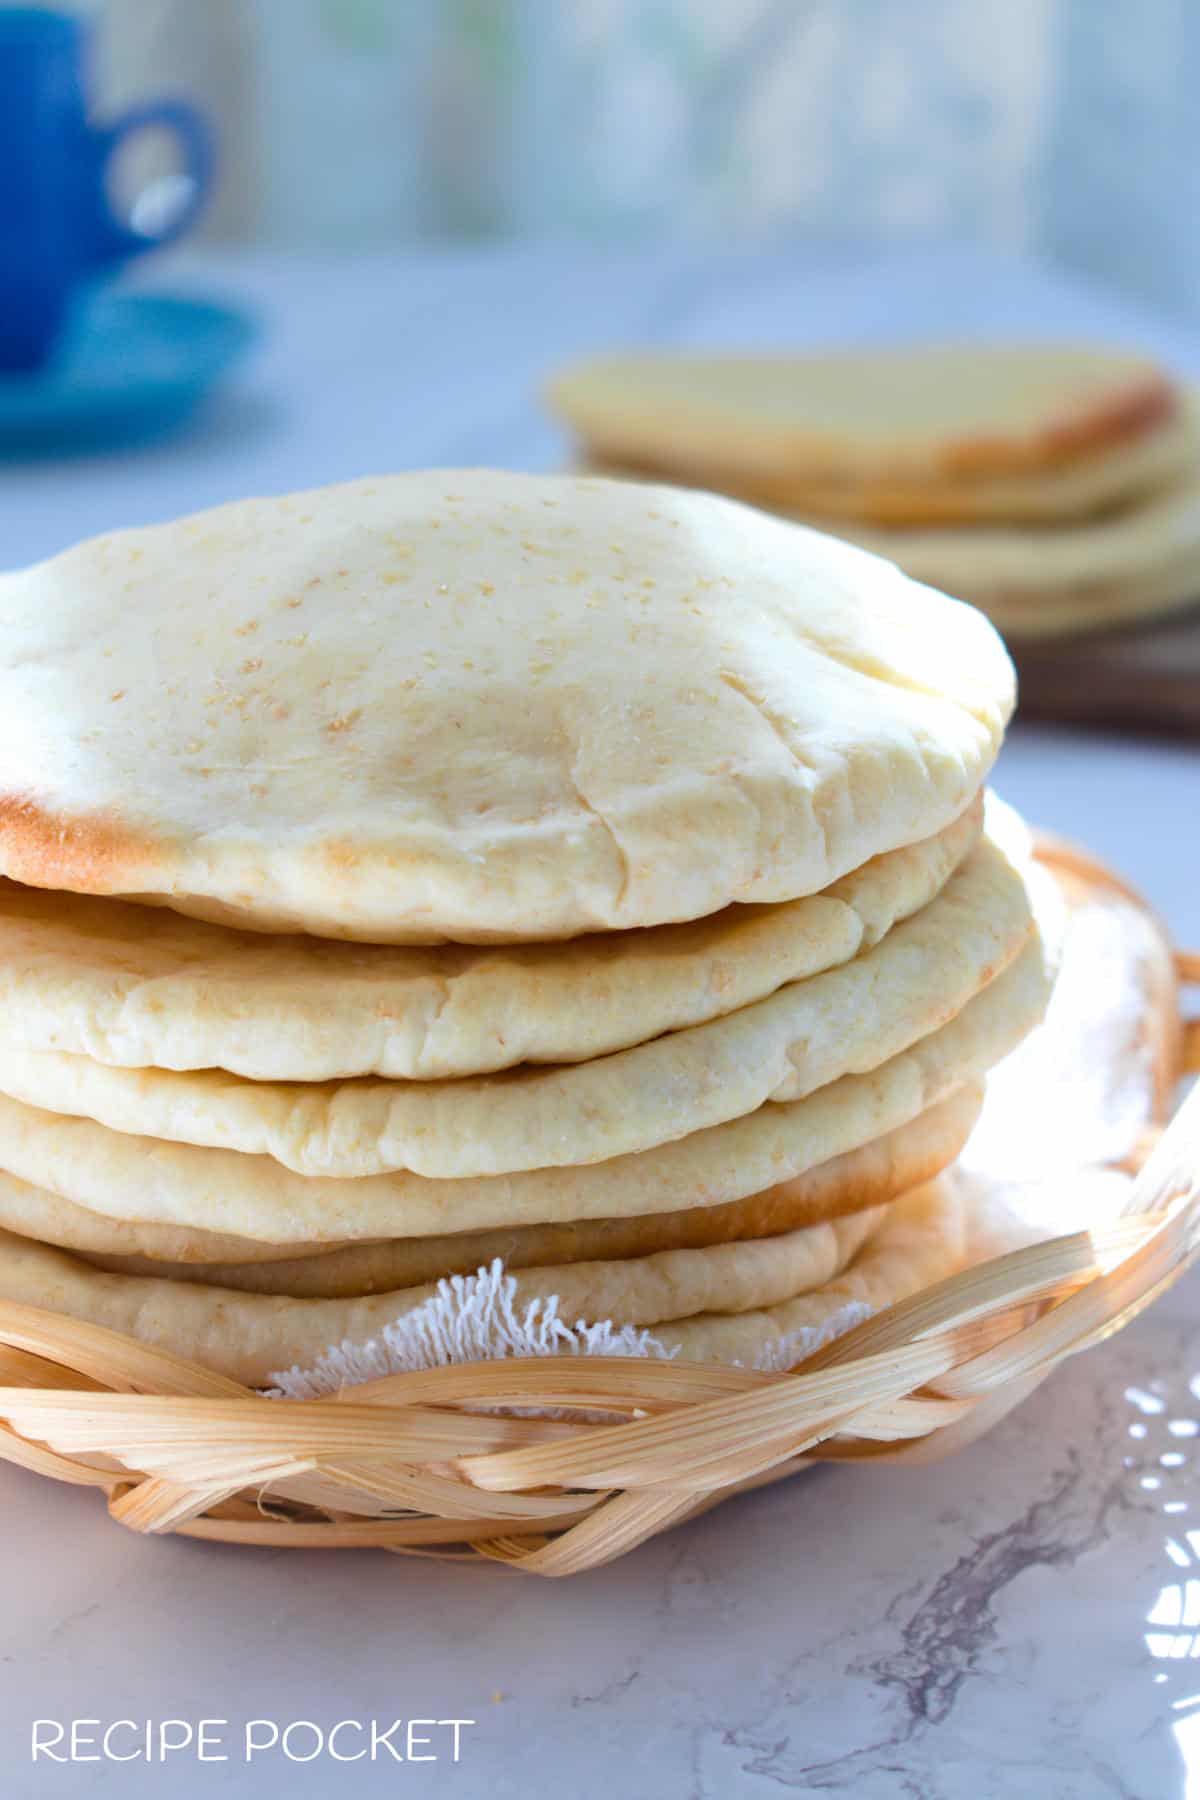
- The pita should be puffed and mostly white with a hint of golden at the edges. Take them out and stack them in a clean towel as you bake more. They will flatten as they cool.

Cooking In a Cast Iron Skillet
- Turn on the stove to medium heat and warm up the pan.
- Once the pan is warm, put a piece of pita bread dough in it. Do not use any oil or butter.
- When you see the dough puff up (usually in 1-2 minutes), flip the pita with a spatula. Keep an eye on the heat and adjust if needed.
- Cook the other side for about 1-2 minutes until it puffs up a bit and turns a light golden color.
- Take it out of the pan and stack it in a clean towel as you cook more. They will flatten as they cool.
- Repeat these steps for the rest of the pita bread. Enjoy your delicious homemade pita!
Expert Tips
- Use active yeast - Use live and fresh yeast, the kind that's active and ready to do its job. If the yeast is past its expiry date, it might not work as well.
- Work the dough - Give your dough a good workout by allowing your bread machine to go through the complete kneading cycle. This makes it soft and stretchy.
- Let it grow - Allow the dough to sit and rise in your bread machine until it gets bigger. This makes your pita bread fluffy.
- Roll out to the right thickness - Not too thick or too thin. This makes sure it cooks evenly. If it is too thin, the pocket will not form well, and if it is too thick, it is too "heavy" for steam to open the pocket.
- Cook at the right temperature - If the oven is baking make your oven super hot. This helps the pita puff up in the oven. If cooking in a skillet, heat the skillet over medium heat, and adjust the temperature when necessary to avoid burning.
- Oven time - Put your dough on a hot tray in the oven. Watch it closely, and when it puffs up and turns a bit golden, it is ready.
- Rest and cover - Once done, stack your pitas and cover them with a clean towel. The steam and warmth will keep them soft.
How Do You Open A Pita Pocket?

If you are going to use the homemade pita bread right after baking and they are still warm and puffed up from the oven, cut a small section from one end (or slice it down the middle).
You will see that the two layers are already separated, and ready for your filling.
But, if the pita bread is cold or has been stacked for a while, the pocket might stick together.
In that case, the best way to open it is to heat them in a pop-up toaster.
Warm them until they start puffing up. Once they have puffed, take them out of the toaster and let them sit on a cake rack for a minute or two before cutting and using.
We have found that this method works well for our homemade pita bread, and we are pretty sure it will also work for store-bought pita.
Serving Size
One pita bread is a serving size.
Calories Per Serve
Each pita bread is around 169 calories.
Serving Suggestions
Check out our Pita Bread Ideas page for ways to use pita bread. You will find tips and recipes for yummy pita bread sandwiches, tasty pizzas, cheesy quesadillas, and crunchy chips.
We also have other easy bread recipes like No Knead Focaccia Bread, Soft Flour Tortillas, Easy Naan Bread, and Easy Soft Dinner Rolls – No Knead.
Take a look at all our bread recipes for more tasty ideas!
Storage
Refrigeration - Homemade pita bread typically stays fresh for about 2 to 3 days at room temperature. To extend its freshness, you can store it in the refrigerator for up to a week. However, keep in mind that refrigeration may cause the pita to lose some of its softness.
Freezing pita bread is a great way to keep it fresh for a longer time. Here is a simple guide on how to freeze pita bread:
- Cool completely - Let the pita bread cool completely after baking.
- Separate with parchment paper - Place a piece of parchment paper between each pita bread to prevent them from sticking together.
- Wrap in plastic wrap - Wrap the stack of pita bread in plastic wrap. Make sure it is tightly sealed to prevent freezer burn.
- Place in a freezer bag - Put the wrapped pita bread into a freezer-safe plastic bag. Squeeze out any excess air before sealing the bag.
- Label and date - Label the bag with the date of freezing. This helps you keep track of freshness.
- Freeze - Place the bag in the freezer. Lay it flat if possible to save space.
Reheating
When you are ready to use the frozen pita bread:
- Thaw in the refrigerator - Take the desired number of pita bread from the freezer and place them in the refrigerator or bench top to thaw.
- Warm-up - Warm the thawed pita bread in a toaster, skillet, oven, or microwave for a short time to make it soft and enjoyable.
FAQ
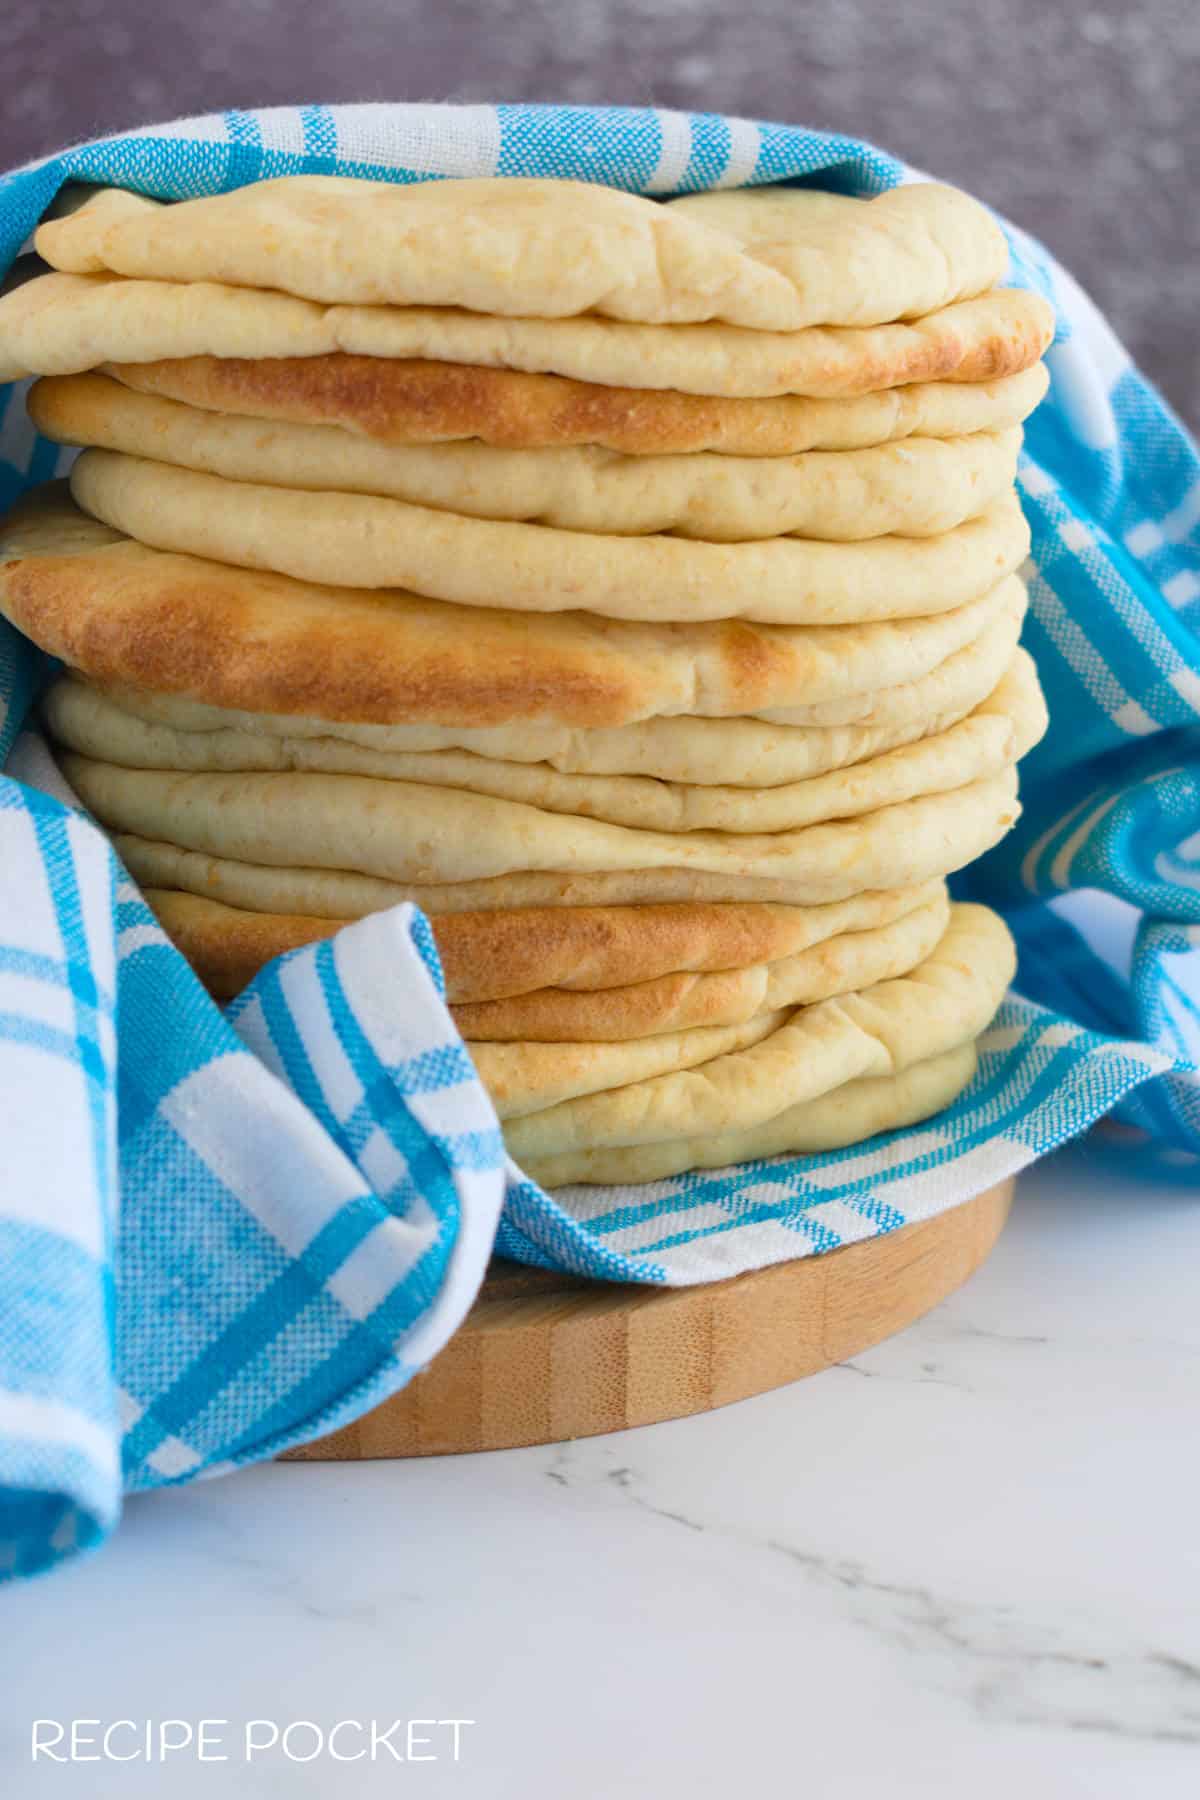
If you plan to eat the pita bread right after baking, keep it fresh and warm by stacking and wrapping it in a clean towel as it comes out of the oven.
If you are not going to eat them right away, let the stacked pita bread cool down.
Once they are at room temperature, place a piece of baking paper between each pita to prevent them from sticking together. Then, tightly wrap them in plastic food wrap.
You can store the pitas at room temperature for a few days, or if you want to keep them for a longer time, freeze them.
We hope you give this homemade pita bread recipe a shot. If you do, drop a comment below and share how it went. We would love to hear about your experience!
Recipe

Easy Homemade Pita Bread
Ingredients
- 300 grams (10.58 ounces / 1 and ¼ cups) of water at room temperature
- 2 ½ teaspoons (level) salt
- 1 tablespoon sugar
- 60 grams (2 ounces / ¼ cup) salted butter at room temperature
- 375 grams (13.22 ounces / 2 and ¾ cups) white bread flour (also known as bakers flour/strong flour)
- 150 grams (5.3 ounces / ¾ cups) whole wheat flour or rye flour or white bread flour
- 50 grams (1.76 ounces / ⅓ cup) milk powder
- 2 ½ teaspoons dry instant - dried baker’s yeast
Instructions
- Bread Machine Setup
- - Take out the bread pan from the machine. Add water, salt, sugar, butter, flour, milk powder, and yeast.- Set the bread machine to the "Dough" or "Manual" setting. Press start.- Keep an eye on the dough during the initial kneading phase. If it appears too sticky, add one tablespoon of flour at a time until it forms a smooth, elastic ball. Conversely, if it is too dry, add water in small increments.- After the kneading cycle completes, allow the dough to rise in the machine. This step is crucial for developing flavor and texture.
- Shape into even-sized balls
- - Once the dough has risen, remove it from the bread machine and the bread pan onto a floured surface. - Before shaping the dough into round shapes, use your kitchen scale to measure equal amounts of dough. This ensures that all your homemade pita breads will be about the same size and weight.- Using this recipe, you will make 16 homemade pitas, each about 5.5 inches (14 cm) in diameter. This is a good size and the baked pita easily fits into a pop-up toaster for quick reheating. Plus, it is generally a good size for cooking in a skillet.
- Roll and flatten into discs
- - Flatten the dough into discs using a rolling pin, aiming for a thickness of about 2-4mm (⅛” – ¼”). It is important not to go too thick or too thin because it affects the pocket formation during cooking. If it is too thin, the pocket will not form well, and if it is too thick, it is too "heavy" for steam to open the pocket.-Make sure to flatten the dough evenly. Avoid patches that are too thick or thin. The uneven dough might not form the pocket properly.
Cooking Instructions - Pita bread can either be oven-baked or cooked in a skillet.
- Oven baking- To make your pita bread puff up nicely, make sure your oven is really hot, around 200-230°C (440°F).- Put two to three pita pockets on the rack. Use a spray bottle to give your pitas a good mist, about 5-6 squirts, before closing the oven door. - If the oven is right, they will start puffing up in about 2 minutes. They will not all puff up at the same time.- After 4-6 minutes, take them out. Do not be tempted to cook longer if they have not all puffed, because overcooking makes them dry, not soft.- The pita should be puffed and mostly white with a hint of golden at the edges. Take them out and stack them in a clean towel as you bake more. They will flatten as they cool.
- Cooking In a Cast Iron Skillet- Turn on the stove to medium heat and warm up the pan.- Once the pan is warm, put a piece of pita bread dough in it. Do not use any oil or butter.- When you see the dough puff up (usually in 1-2 minutes), flip the pita with a spatula. Keep an eye on the heat and adjust if needed.- Cook the other side for about 1-2 minutes until it puffs up a bit and turns a light golden color.- Take it out of the pan and stack it in a clean towel as you cook more. They will flatten as they cool.- Repeat these steps for the rest of the pita bread. Enjoy your delicious homemade pita!
Related Recipes
- See easy pita bread ideas for way to use your homemade pita bread.
- Learn how to make naan bread at home with this step by step recipe
- Looking for a quick flat bread to make try this yeast free soft flour tortilla recipe


Angela says
I've made this recipe 3 times now and it always turns out perfect. I have used room temp Greek yogurt for the milk powder and it turns out great (when I run out). My boyfriend and I love this so much, we will never buy pitas from the store again. I'm not too far outside Denver, so dry and some altitude.
Harriet says
I am please to know that you like the recipe.
Jonique Blount says
Under the ingredients section on the third box it says “1 tablespoon 1 tablespoon” but it doesn’t say what it’s for. Can you please clarify?
Harriet says
Thanks for letting me know of the error. It should read 1 tablespoon sugar.
Jackie says
Can I freeze not used pita
Harriet says
Yes, you can freeze the pita bread.