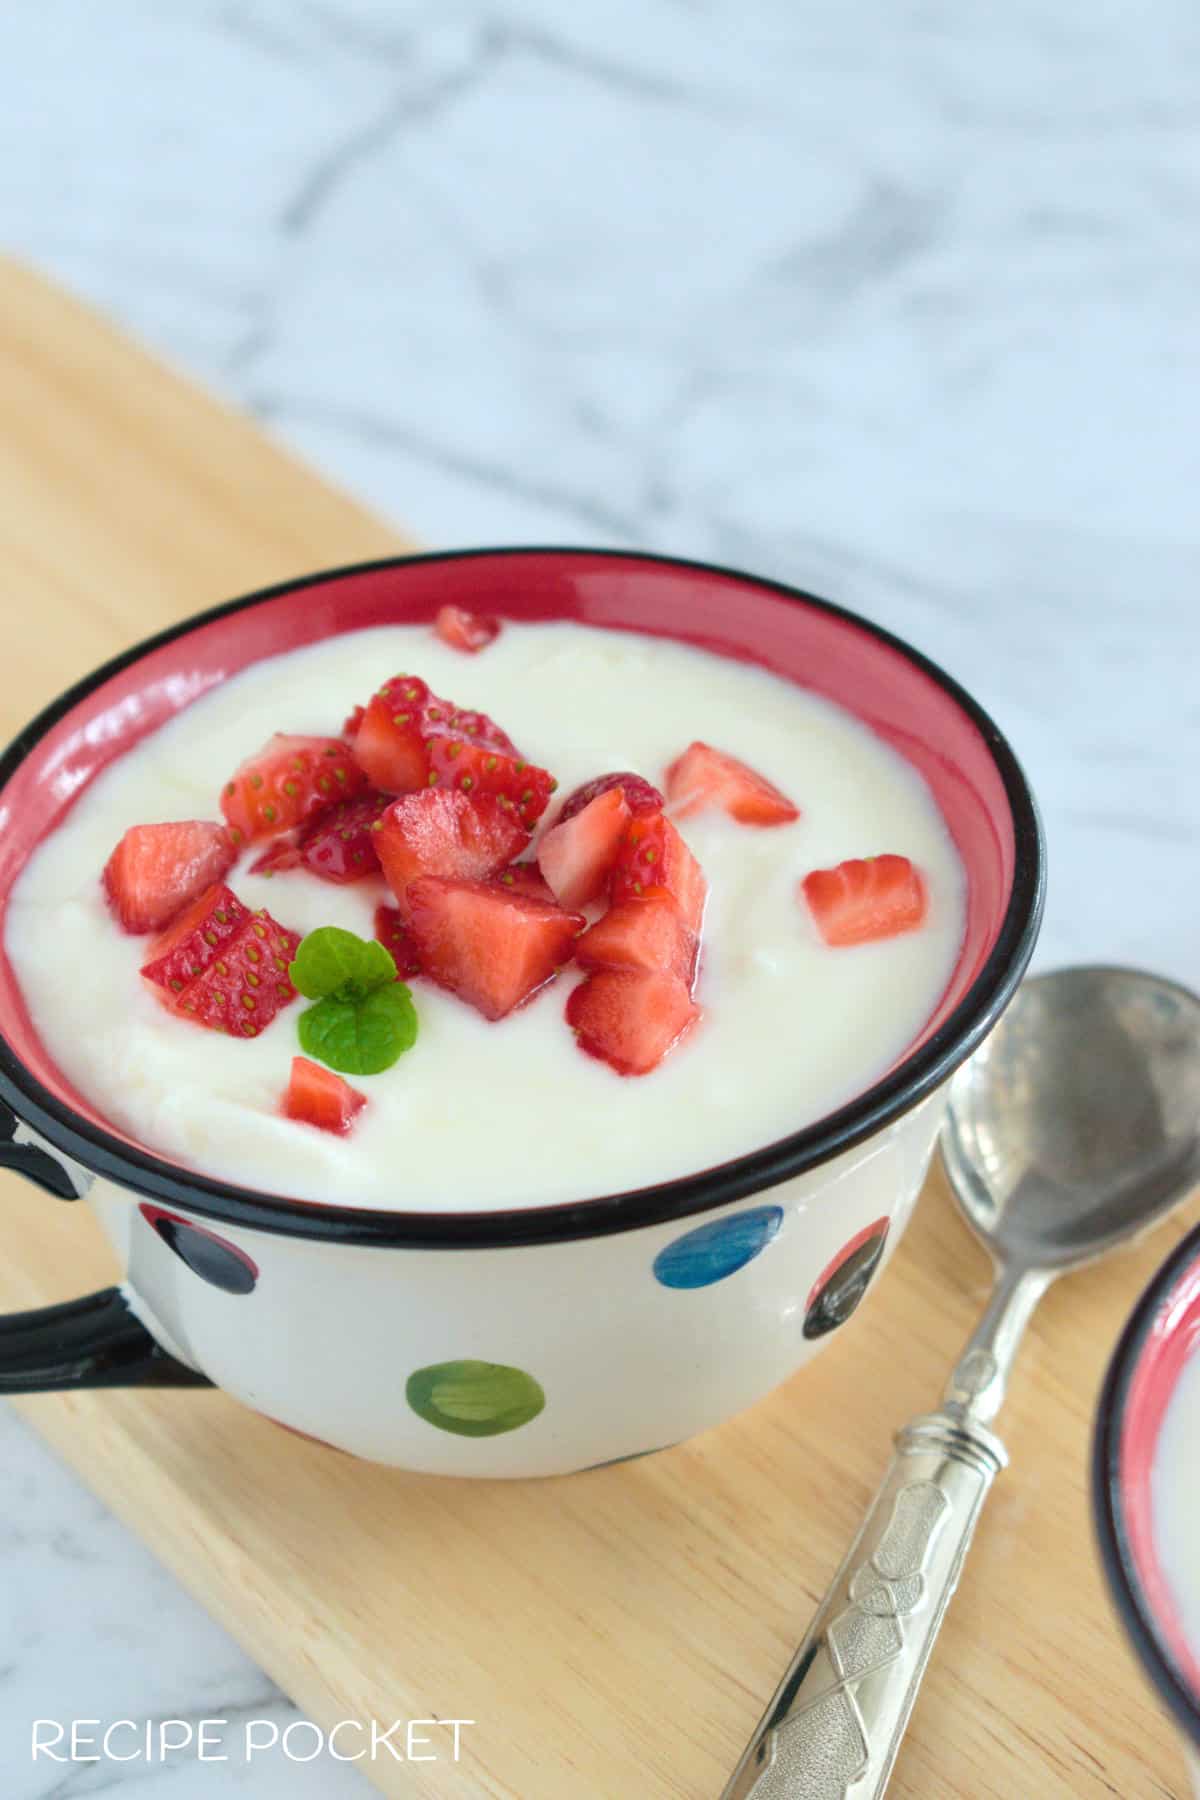
Learn how to make yogurt at home with this simple guide. No fancy equipment is required!
If you have never tried making yogurt because you thought it was too hard or needed special gear, we are here to show you it is easy.
Once you have made it yourself and tasted the difference, you will never want store-bought again.

Jump to:
Different Methods For Making Yogurt At Home
There are different methods for making yogurt at home such as a yogurt maker, thermos, oven method, instant pot, cold start, and stovetop.
With the Yogurt Maker method, you use a specialized appliance designed for making yogurt. This device heats and incubates the yogurt mixture at a precise temperature for a predetermined duration.
With the Thermos Method, you start by mixing heated milk with a starter culture. Then, you pour this mixture into a pre-warmed thermos, where it ferments and thickens within the insulated container.
In the Oven Method, you begin by preheating the oven to a low temperature. After that, you turn off the oven and place the covered container of yogurt mixture inside, allowing it to ferment using the residual heat.
For the Instant Pot or Pressure Cooker method, you use the yogurt function on a multi-cooker like the Instant Pot.
This feature provides controlled heating and incubation within the same device, streamlining the yogurt-making process.
In the Cold Start Method, you bypass the step of heating the milk. Instead, you mix cold milk directly with a starter culture before incubating.
This approach can save time and effort in the yogurt-making process.
The Traditional Stovetop Method requires heating milk on the stovetop, cooling it to a specific temperature, adding a starter culture, and then incubating the mixture in a warm environment, such as an oven with the pilot light on or wrapped in a warm towel.
These are some of the most common methods, but there may be other variations or combinations of techniques depending on personal preferences and available equipment.
We prefer the traditional stovetop method, and that is what we will talk about in this post.
How To Make Yogurt At Home
Ingredients
Here is what you will need:
Making yogurt at home requires just two ingredients: milk and a yogurt starter. You will also need some basic kitchen tools.
Milk - You can use different types of milk to make yogurt, but it works out best with milk that you enjoy drinking.
For instance, if you do not like the taste of goat's milk, avoid using it because the yogurt will carry its flavor.
For a rich and creamy yogurt, it is best to use milk with some fat content. Full cream milk or whole milk works great for achieving this texture.
Yogurt Culture (Starter) - To turn milk into yogurt, you will need a yogurt starter. This can be store-bought yogurt, homemade yogurt culture, or yogurt starter powder.
Using store-bought yogurt is the easiest. Just grab a single-serve container, as you'll only need 2 tablespoons.
If you have a favorite yogurt without added flavors or stabilizers, use that as your starter. If not, experiment until you find one you like. The flavor of the starter affects your yogurt's taste and texture.
Once you make your first batch, save some as the starter for the next. Keep doing this, but if your yogurt starts tasting too sour, switch back to a store-bought starter.
We use a less tangy starter for consistently milky yogurt with a hint of sourness.
Equipment
You do not need to splurge on fancy gadgets like electronic yogurt makers or special strainers. All you need are:
- A big container for making the yogurt in
- Another container for storage (or just leave it in the container you made it in).
- A metal spoon
- A large saucepan
- Measuring jugs or cups
- Stove for heating the milk
- A few clean tea towels for wrapping
- An oven (optional)
That is all it takes to make yogurt at home!
About the container
You can make yogurt in any container, whether it is glass or plastic, as long as it is big enough for all the milk.
We use a large ceramic bowl to make the yogurt, then transfer it to a plastic storage container afterward.
How Much Yogurt Does This Recipe Make
This recipe yields about 1.4 kg of yogurt.
To make the milk, we use:
- 100 grams full cream milk powder
- 100 grams skim milk powder
- 1.4 liters of water
Mix the milk powder and water, then proceed to make the yogurt.
You will also need 2 tablespoons of natural yogurt as the starter.
Note: If you prefer not to use milk powder, use 1.4 liters of full cream milk instead.
Now, let us talk about how to make yogurt at home.
Step By Step Instructions
There are 8 basic steps for making yogurt at home on the stovetop.
Step 1 - Heating the Milk To 180 degrees Fahrenheit.
Pour the milk into a large saucepan and heat it until it just starts to come to a boil, about 180°F to 200°F (82°C to 93°C).
Stir the bottom of the saucepan while heating to prevent the milk from sticking and burning.
Boiling the milk serves two important purposes in making yogurt:
- Boiling the milk sterilizes it by killing any harmful bacteria present, ensuring a safe environment for the yogurt culture to grow.
- When you heat the milk, it changes the proteins, making them unfold. This unfolding process, called denaturation, is important for getting the thick and creamy texture we want in yogurt.
Once the milk reaches a boil, remove it from the heat.
Step 2 - Cool the Milk To 110 - 115 degrees Fahrenheit
Allow the milk to cool until it reaches a lukewarm temperature, around 110°F to 115°F (43°C to 46°C).
The yogurt culture thrives in warmth but can die if the temperature is too high.
You can check the temperature in several ways:
- Touch the outside of the pot at the milk level with the palm of your hand for a few seconds. If it feels slightly warm to the touch, it is ideal. If it feels too hot, let it cool longer.
- Take a spoonful of the milk and pour it into the palm of your hand. It should feel just warm, similar to the warmth of your breath when you exhale onto your palm.
- Alternatively, you can use a thermometer to measure the temperature directly.
Step 3 - Warm the Oven
The oven will act as an incubator for the yogurt which can be prepared while you complete Step 4.
Warm the oven to a very low temperature for 2 – 3 minutes, just enough to barely warm it, then turn the oven off.
Be careful not to overheat the oven. The air inside the oven should feel warm and comfortable when you place your hand inside.
Tip: Using an oven for incubation is optional. Any warm area will suffice, as long as the yogurt can be left undisturbed during the process.
Step 4 - Warm and Sterilize the Container
Pour boiling water into the container where the yogurt will be made and over the stirring spoon.
Drain the water from the container without wiping it dry. While the container is still warm, proceed to Step 5.
Step 5 - Mix the Milk and Starter
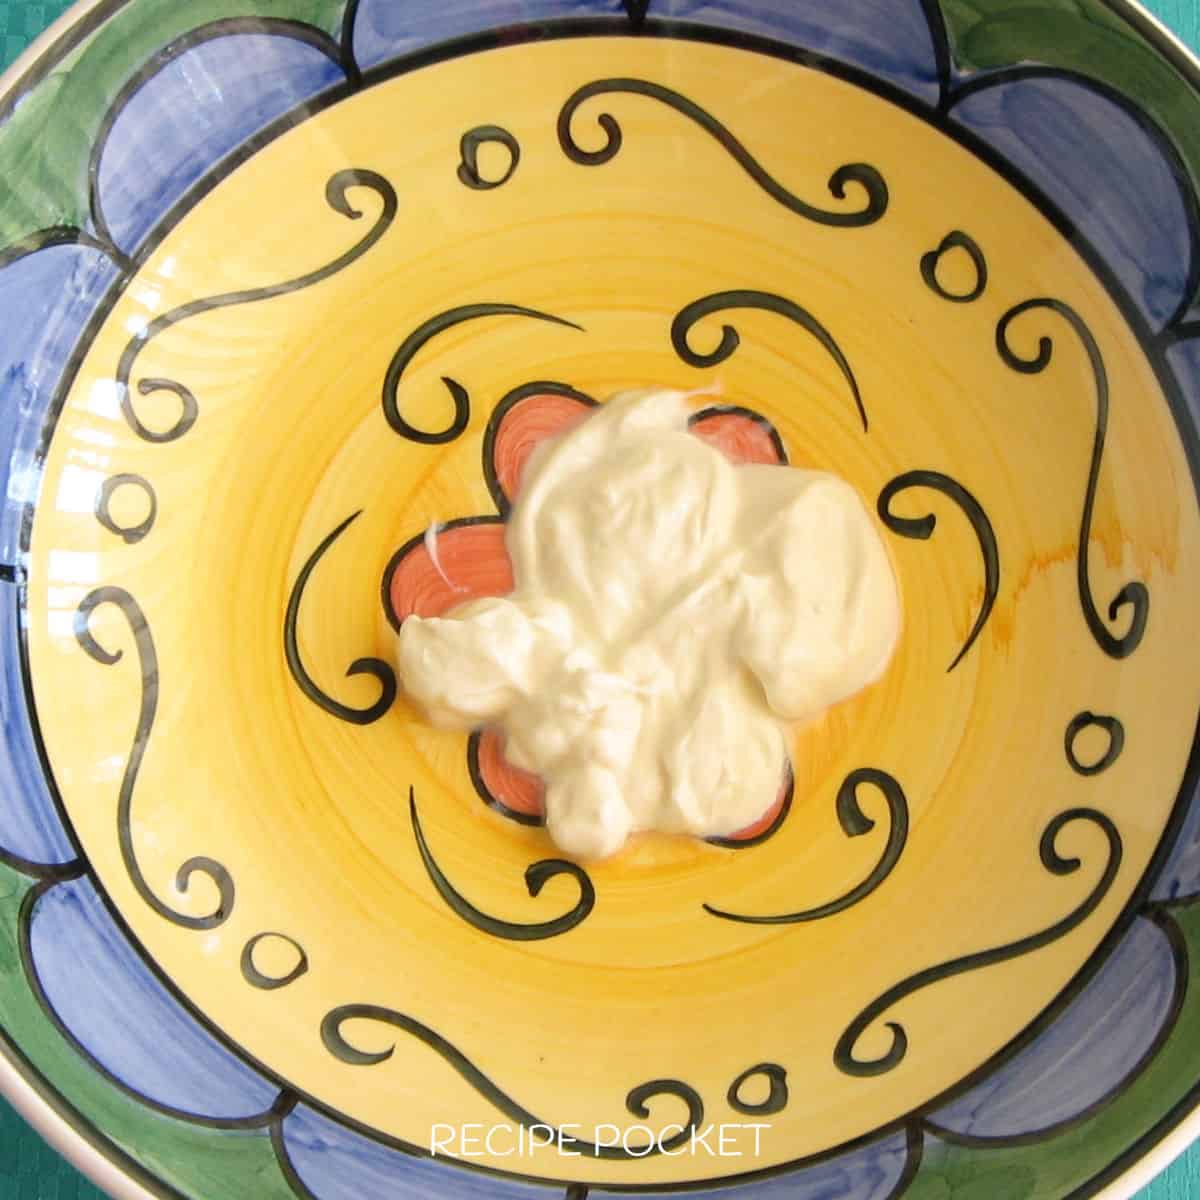
Begin by placing 2 tablespoons of starter yogurt into the bowl. Before pouring the milk into the container, remove any milk skin from the top of the cooled milk.
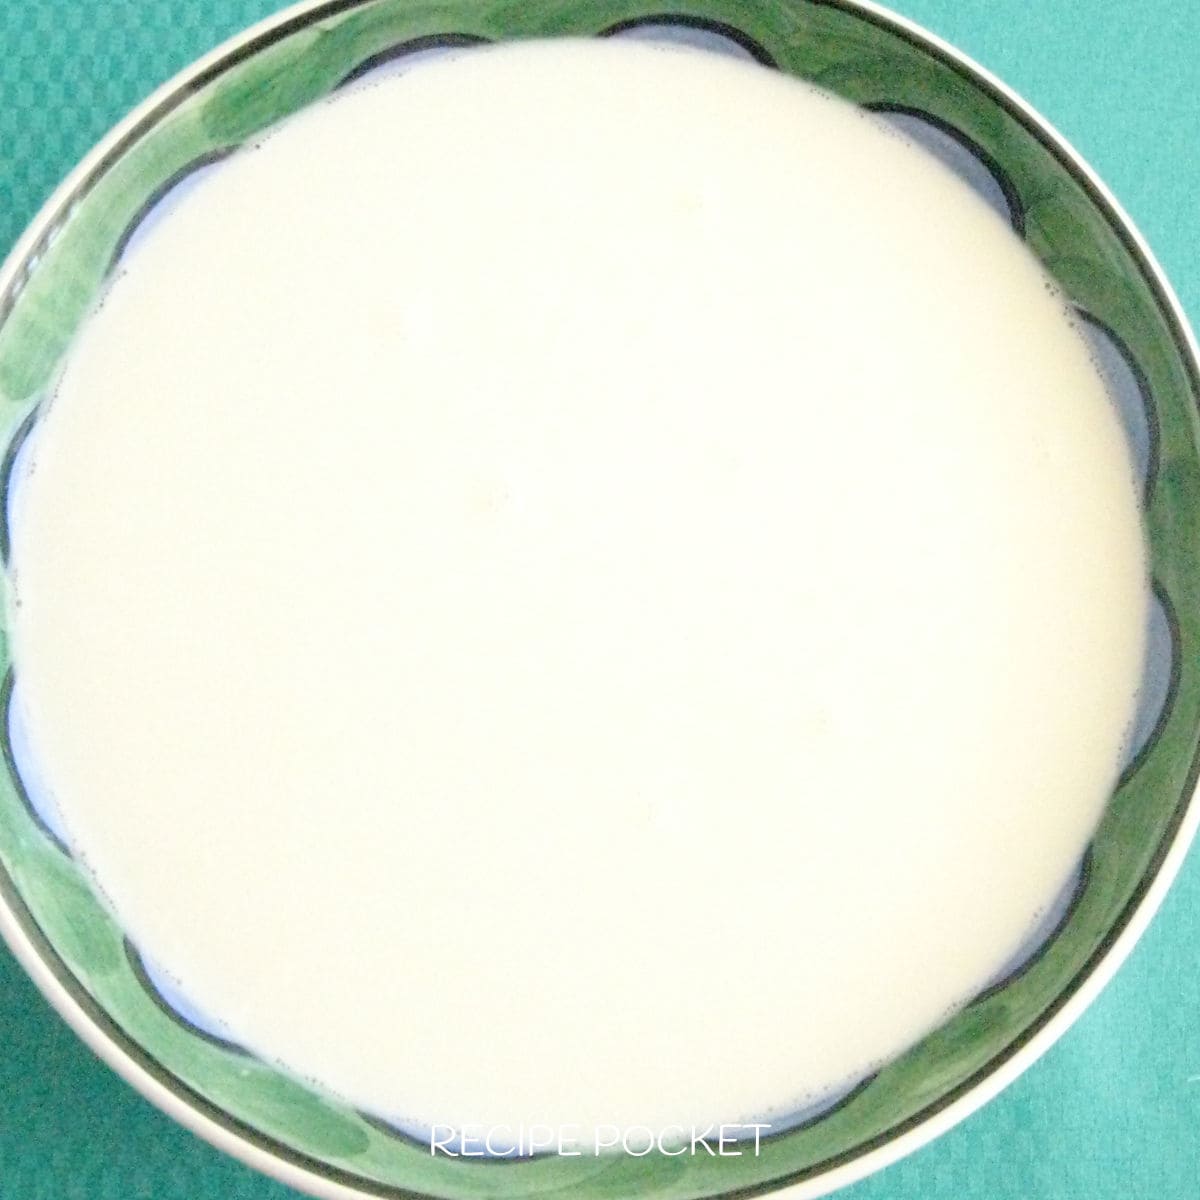
Then slowly pour the milk into the container, using the sterilized spoon to gently stir the starter yogurt into the milk as it is poured.
Remember not to use too much starter yogurt, as it can make the yogurt too sour.
Step 6 - Cover and Wrap
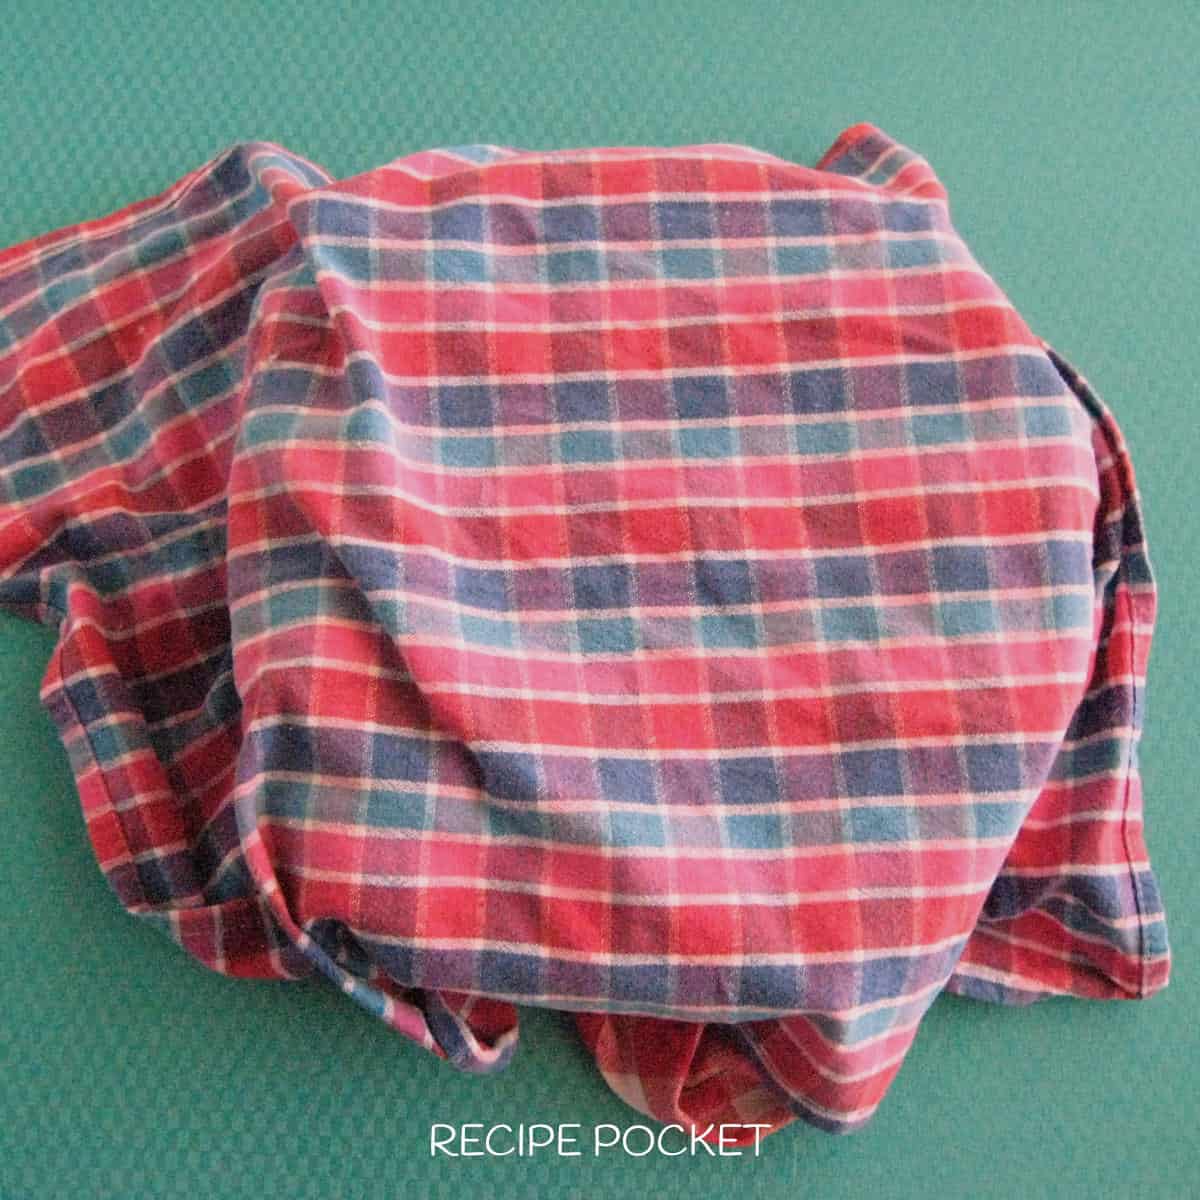
First, tightly seal the container with plastic food wrap. Then, wrap the bowl in several layers of clean tea towels. Carefully place the container in the warm oven.
Step 7 - Incubate
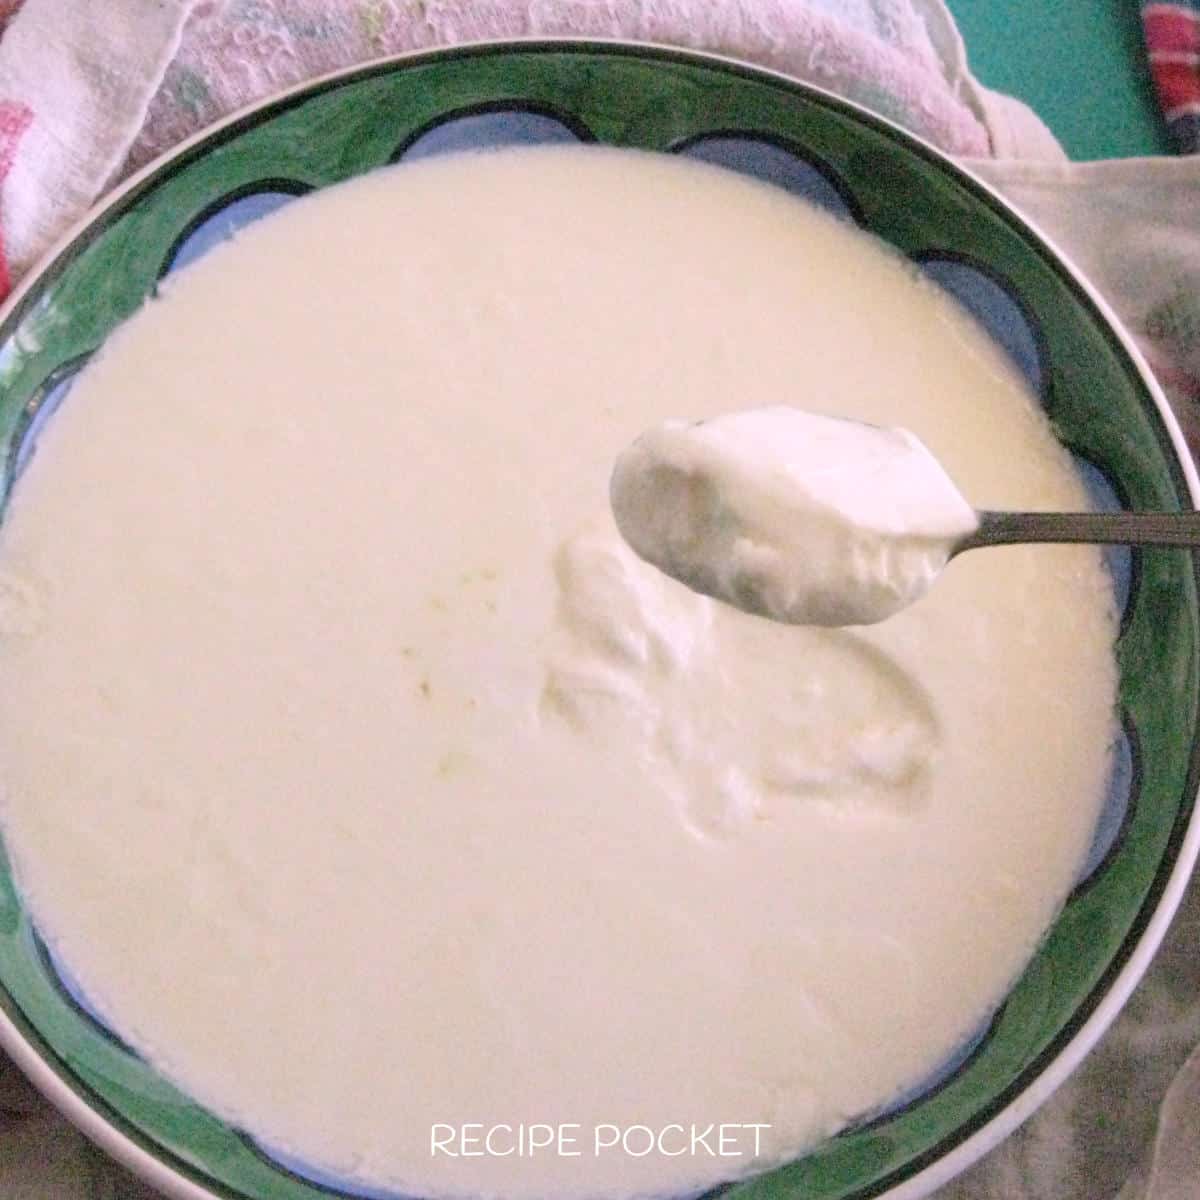
Once the yogurt is in the oven, let it sit undisturbed for 5 hours. After this time, check to see if the yogurt has set by uncovering a small section of the bowl while it's still in the oven.
If the yogurt looks thick and set, it's ready. If not, give it another hour or longer if needed.
Note: Under ideal conditions, the yogurt should be ready in around 5 – 6 hours. Leaving it longer will make it sourer.
You may notice some water on top of the yogurt after it's made. This is whey and is normal.
You can mix it back into the yogurt for a thinner consistency or spoon it off to keep the yogurt thick and creamy.
Note: The amount of whey that is produced depends on the warmth of the milk and the incubation environment. Warmer conditions produce more whey.
Once the yogurt is made, transfer it to a sealed container for storage.
Step 8 - Storage
Store the yogurt in the fridge, where it will continue to thicken as it chills.
It is best consumed within one and a half weeks. Do not forget to set aside some yogurt as the starter for your next batch.
Expert Tips
- Stirring - While heating the milk on the stovetop, stir continuously to prevent it from sticking to the bottom and scorching.
- Temperature Control - Use a thermometer to monitor the milk temperature accurately, especially when heating and cooling. This ensures it reaches the optimal temperature range for incubation.
- Consistency Check - Before adding the starter culture, ensure the milk has cooled sufficiently. Adding the culture to hot milk can kill the live bacteria necessary for fermentation.
- Covering - Cover the container with a lid or plastic wrap during incubation to maintain a consistent temperature and prevent contamination.
- Undisturbed Incubation - Leave the yogurt undisturbed while the culture works to ferment the milk. Avoid moving or jostling the container during this time.
- Incubation Time - The incubation time may vary depending on factors like room temperature and desired tartness. Check the consistency periodically to determine when it is ready.
- Starter Culture - Using a high-quality starter culture is crucial for successful fermentation. Opt for plain yogurt with live active cultures and avoid varieties with added sugars or thickeners.
Serving Size

This recipe yields six servings, each approximately 8 ounces (233 grams) in size.
Calories Per Serve
A serving contains approximately 147 calories.
Serving Suggestions
Yogurt is a versatile ingredient that can be used in many tasty ways!
You can mix it with our homemade applesauce recipe for a delicious and healthy snack. Or try it with a simple berry compote for a sweet and tangy dessert topping. Or top it with homemade puffed rice granola for a quick and easy snack.
Yogurt is also great for baking cakes or making naan bread. It adds moisture and a subtle tanginess that makes your cakes extra delicious.
For breakfast, you can use yogurt to make overnight oats. Just mix it with oats, milk, and your favorite toppings like fruit and nuts, then let it sit in the fridge overnight.
In the morning, you will have a creamy and satisfying breakfast ready to enjoy! So next time you are in the kitchen, do not forget about the magic of yogurt.
Yogurt can also be mixed with sour cream to create a budget-friendly topping.
Whether you are garnishing baked potatoes, tacos, or soups like the creamy pumpkin soup, this blend adds a creamy and tangy flavor without breaking the bank.
Whether you are making snacks, desserts, or breakfast, yogurt adds a creamy and delicious touch to any dish.
And if you prefer Greek yogurt, you can easily adapt this recipe to make it at home with our guide for homemade Greek yogurt.
Making yogurt at home is not only simple and rewarding but also allows for customization to suit your taste preferences.
With each serving containing approximately 147 calories and offering a rich, creamy texture, homemade yogurt serves as a nutritious addition to your diet.
Have you tried making yogurt at home? Share your experience with us in the comments below or pin this post to save the recipe for later!
Recipe

How to Make Yogurt
Equipment
- 2 quarts (2 liter) bowl
- Mixing spoon
- Kitchen scales
- Measuring spoon
- 2 quarts (2 liter) deep saucepan
- Plastic food wrap
- Clean tea towels/towel for wrapping
Ingredients
- 3.5 ounces (100 grams) full cream milk powder
- 3.5 ounces (100 grams) skim milk powder
- 2 quarts (2 liters) of water
- 2 tablespoons natural plain yogurt
Instructions
- In a large saucepan, combine the milk powder and water, stirring thoroughly.
- Heat the mixture until it reaches a boil, stirring occasionally, then turn off the heat.
- Allow the milk to cool until it reaches a lukewarm temperature around 110°F to 115°F (43°C to 46°C).
- Just before making the yogurt sterilize the bowl and mixing spoon. To sterilize the bowl and spoon, pour some boiling water into the bowl and over the spoon, then discard the water.
- While the bowl is still warm, add 2 tablespoons of natural plain yogurt to the warmed bowl.
- Then add the milk, but before doing so, remove any milk skin that has formed on top. When pouring the milk into the bowl use the sterilized spoon to stir the yogurt into the milk.
- Next, cover the bowl tightly with plastic food wrap and wrap it with several layers of clean tea towels or towels.
- Preheat the oven on low heat for 2-3 minutes until it is just warm, and turn it off. Then carefully place the covered bowl into the oven.
- Leave the yogurt undisturbed for 5 hours in the oven and allow it to set. After 5 hours, the yogurt should be thick and ready.
- If you see a liquid layer on top of the yogurt this is whey, you can either mix it back into the yogurt or spoon it off.
- Transfer the yogurt to a storage container and refrigerate it.
Notes
- For a thicker and creamier yogurt, you can replace the skim milk powder with full cream milk powder.
- If you prefer not to use milk powder, substitute it with 1.4 liters of full cream milk.
- Remember to set aside 2 tablespoons of your homemade yogurt as a starter for your next batch.
Nutrition
This blog post for How to Make Yogurt at Home was first published 1 March 2019. Updated with new images on 15 July 2020.

Comments
No Comments